Skip to main content
- Define a new project space with the name "KLH".
- Load micrograph "KLH_02_01.mrc".
- Quality inspection: intensity histogram seems okay.
- Quality inspection: activate SPEC button, inspect spectra of selected regions.
- Filter the image to reduce noise and enhance contrast. In Image Pre-processing box, set Low-pass to 140, and High-pass to 1000. Click the Filter button.
- The templates will come from the micrograph directly. Switch to Menu : Function : 2D Image Editor (F4-key), click the Filament button at the bottom of the window. A rectangular monitor will show up in the panel.
- Set particle diameter (Size) to 800 in the Filament Parameters box.
- Identify a clean top-view, draw a box around the particle (press CTRL, left-click and drag). Set the scaling of the monitor to 2 or 3 in order to display the full particle. Save the image (Save button) as "topView.mrc".
- Identify a clean side-view, draw a box around the particle, and save the image as "sideView.mrc".
- Alternatively, the templates can be manually selected under the Particle mode and then cropped out via the montage button to form a particle stack.
- Go to Menu : Function : Image Stack Editor, click New and load "topView.mrc". Then, click Add to append "sideView.mrc". Crop both images to an appropriate size (200 pixels in the example) using the Crop function in the Image Processing box. Click Save to save the templates as "klhTemp.mrc".
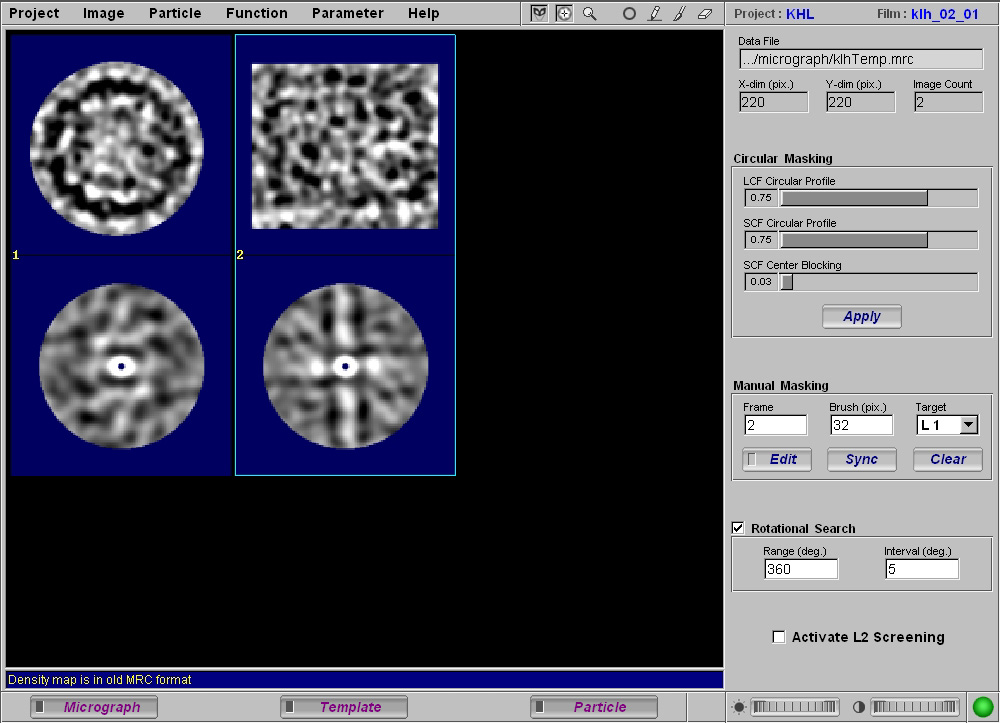
- Load template image "klhTemp.mrc" (Menu : Data : Template : Load MRC).
- Erase the default template masking by clicking Clear in Manual Masking box.
- Set Frame to 1 in Manual Masking box, then click Edit. The top-view is displayed. Activate the circle-drawing button on the toolbar (mouse click or press F3 key). Position the circle around the top-view at a proper radius (Left-click-drag for shifting, Right-click-drag for radius resizing). Deactivate the circle-drawing button, a circular mask will be drawn. Release the Edit button.
- Set Frame to 2 in Manual Masking box, then click Edit. The side-view is displayed. Activate the line-drawing button on the tool bar (mouse click or press F4 key). Set the brush-size to 16 and draw a rectangular mask around the particle. Deactivate the line-drawing button, release the Edit button (see masking example).
- Micrograph screening can now start following the normal procedure.
