This protocol describes how to set up SerialEM to do semi-automatic data collection on cryoEM grids. The protocol is labeled "semi-automatic" because holes are still identified by hand, but once the targets are identified they are acquired without any further user interaction. This protocol is based on the SerialEM installation that is being used on the F20.
Procedure
Set up the microscope and low dose parameters (including alignment and stigmation) as per your normal protocol. Acquire and apply a suitable gain reference and calibrate the dose. Insert your grid to be imaged and inspect it briefly to make sure it's appropriate for data acquisition.
Set up and collect a low magnification montage of the entire grid. Make a map from the montage, then using the Navigator panel "Pick Points" on the grid where the squares seem to be uniformly covered with ice.
Next, select a grid square to sacrifice to set up the Focus offset. Since the relative rotation of each grid varies, this needs to be checked for every grid. Begin by taking a VIEW image:

Then check the Define position of area > Focus radio box. This will show the area that Focus uses on the SerialEM image:

Adjust the Distance on tilt axis and Area relative to tilt axis values until the focus area is in a good relation to the hole:
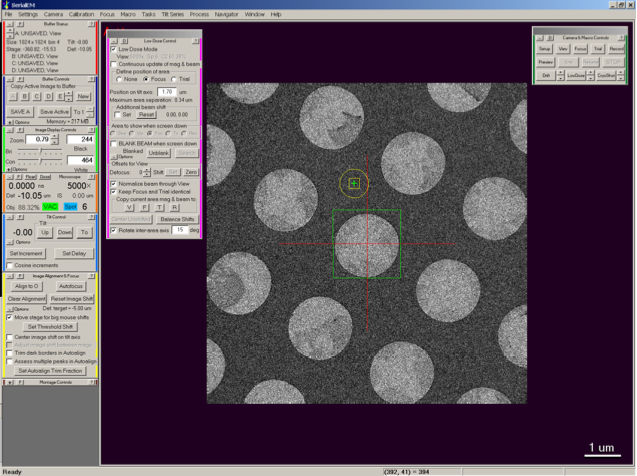
This will define the Focus area relative to any holes to be imaged.
Goto a desirable square, set your eucentric center, and autofocus once or twice. This ensures your beam is well-aligned.
Switch the View state to 1700x and image the entire grid square. Then Add Points in the Navigator window and pick each hole that you want to collect:
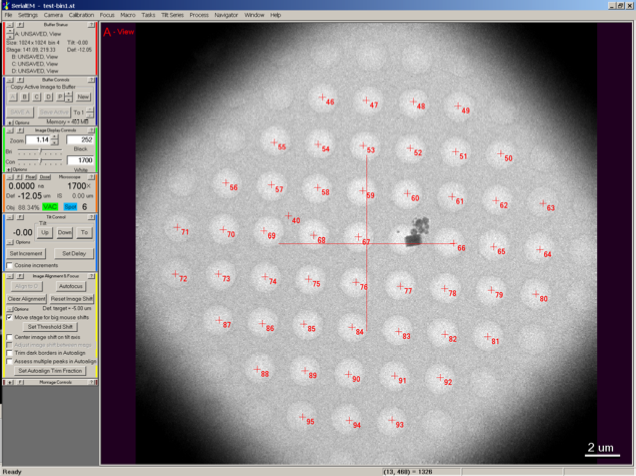
This defines the set of holes to be imaged.
After the holes to be imaged have been chosen, increase the View magnification to the minimum SA mag (5000x) to prevent lens switching during the data acquisition. Take another image at this setting and, if necessary, shift items' registration to coincide with the middle of the hole.
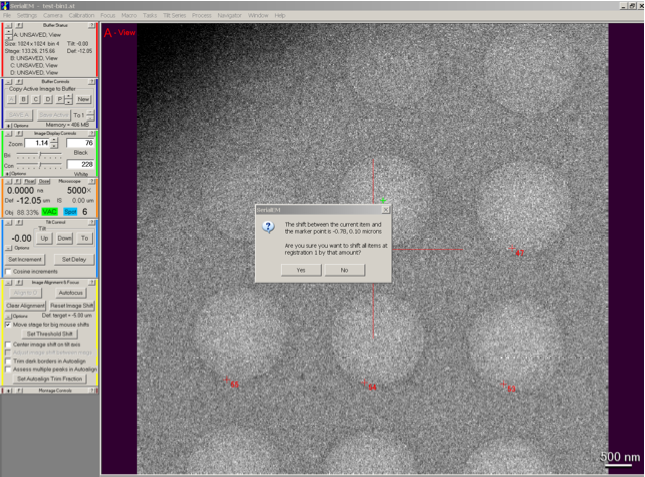
This corrects any misalignment between magnification lenses.
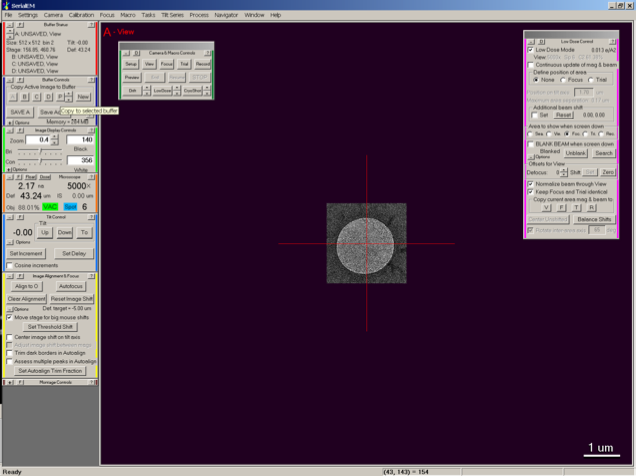
Now sacrifice one hole as a reference object. Begin by resetting the View parameter to image only the central quarter of the CCD:
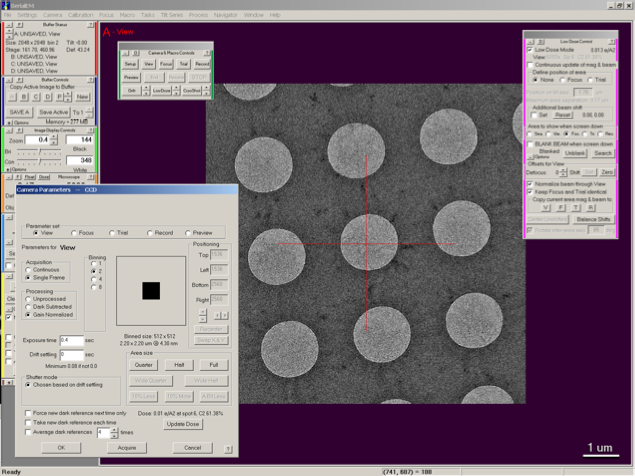
Then collect an image of a single, centered hole and store that image in Buffer P:
Then reset the View parameter once more to image the central half of the CCD. This should result in an image of a single complete hole surrounded by partial holes:
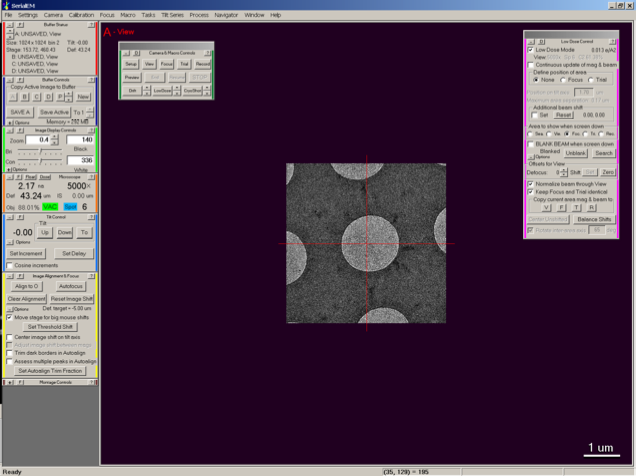
This stores a reference object for aligning holes in Buffer P and sets an initial View that can be well-aligned. This continuous alignment prevents the images from wandering off during a data collection sequence.
Finally, Aquire data at points by running the macro Cryo at each point (from the SerialEM drop-down menu). After the first image you will be prompted to name the stack. Remember to save the log at the end of the run for future reference.
